ManualBuild
Audreys247 (Talk | contribs) (→Build VTK) |
|||
| Line 3: | Line 3: | ||
=== Build or install Qt === | === Build or install Qt === | ||
| − | # Build Qt from source. Download it from here: [http://qt | + | # Build Qt from source. Download it from here: [http://get.qt.nokia.com/qt/source/qt-everywhere-opensource-src-4.7.4.zip Windows Qt source code]. [http://get.qt.nokia.com/qt/source/qt-everywhere-opensource-src-4.7.4.tar.gz Linux/Mac Qt source code]. |
# Extract the zip file to C:\Lab (or the directory of your choosing). | # Extract the zip file to C:\Lab (or the directory of your choosing). | ||
| Line 70: | Line 70: | ||
''git clone git://vtk.org/VTK.git Source'' | ''git clone git://vtk.org/VTK.git Source'' | ||
''cd Source'' | ''cd Source'' | ||
| − | ''git checkout | + | ''git checkout v5.10.1'' |
# Run CMake. | # Run CMake. | ||
| Line 83: | Line 83: | ||
#*<span style="color:red">BUILD_TESTING</span> | #*<span style="color:red">BUILD_TESTING</span> | ||
# Turn <span style="color:green">ON</span> the following options: | # Turn <span style="color:green">ON</span> the following options: | ||
| − | #*<span style="color:green">VTK_USE_BOOST | + | #*<span style="color:green">VTK_USE_BOOST</span> |
| − | #*<span style="color:green">VTK_USE_GUISUPPORT | + | #*<span style="color:green">VTK_USE_GUISUPPORT</span> |
| − | #*<span style="color:green">VTK_USE_QT | + | #*<span style="color:green">VTK_USE_QT</span> |
# <tt>Configure</tt> | # <tt>Configure</tt> | ||
# Turn <span style="color:green">ON</span> the following option: | # Turn <span style="color:green">ON</span> the following option: | ||
| Line 91: | Line 91: | ||
#*Set <span style="color:green">Boost_INCLUDE_DIR</span> to the root of the Boost source tree. | #*Set <span style="color:green">Boost_INCLUDE_DIR</span> to the root of the Boost source tree. | ||
# Turn <span style="color:red">OFF</span> the following option: | # Turn <span style="color:red">OFF</span> the following option: | ||
| − | #*<span style="color:red">VTK_QT_USE_WEBKIT | + | #*<span style="color:red">VTK_QT_USE_WEBKIT</span> |
# <tt>Configure</tt> | # <tt>Configure</tt> | ||
#*An error may appear about QT_QMAKE_EXECUTABLE not being found. Simply provide the path to qmake.exe (should be <QT root directory>/bin/qmake.exe) | #*An error may appear about QT_QMAKE_EXECUTABLE not being found. Simply provide the path to qmake.exe (should be <QT root directory>/bin/qmake.exe) | ||
Latest revision as of 07:31, 23 September 2014
For conformity purposes, save the FARSIGHT source code, QT, VXL, ITK, and VTK to C:\Lab (if possible). The following instructions will assume that the source codes will be saved in C:\Lab.
Contents |
Build or install Qt
- Build Qt from source. Download it from here: Windows Qt source code. Linux/Mac Qt source code.
- Extract the zip file to C:\Lab (or the directory of your choosing).
For Visual Studio 2008/2010:
- Go to Start->All Programs->Microsoft Visual Studio 2008->Visual Studio Tools->Visual Studio 2008 x64 Win64 Command Prompt
- cd to the directory where you unzipped the QT source (Auto-complete key: tab)
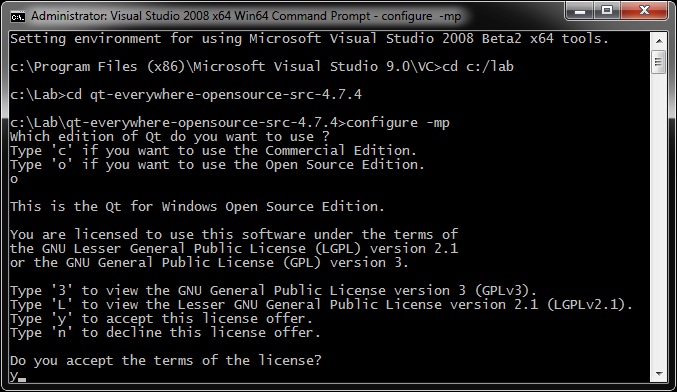
- Run "configure -mp" (see figure below) (This should take about 5 minutes or more. Reading material as you wait.)
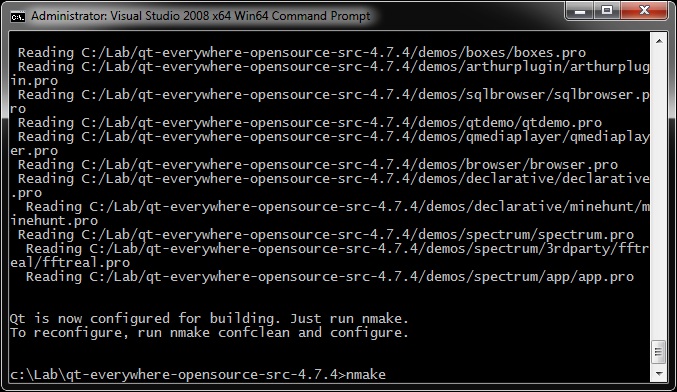
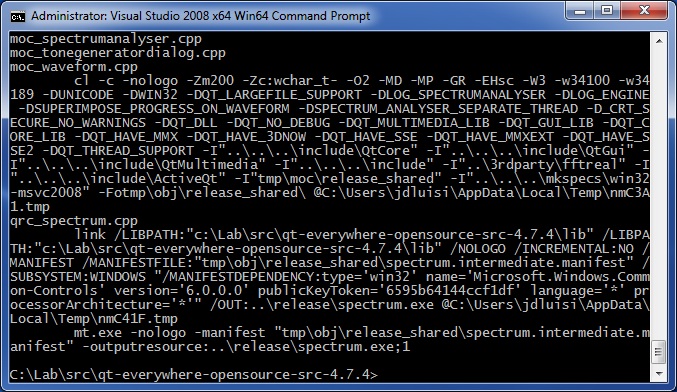
- Run "nmake" Take a coffee break. This step will take at least 30 minutes.
- If you made a mistake somewhere, you can start from scratch by typing "nmake confclean"
Download Boost
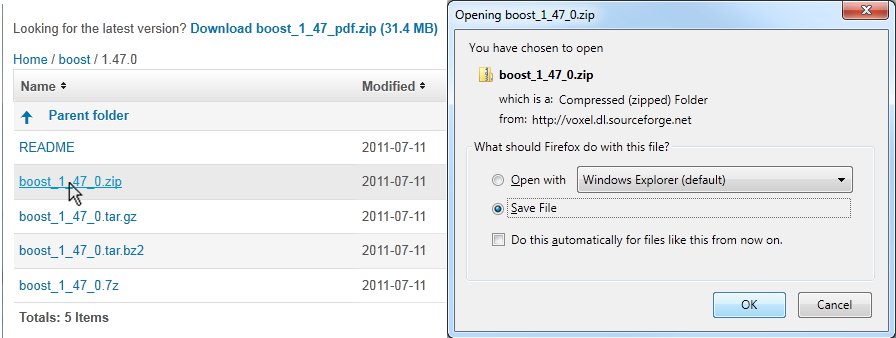
- Download the Boost C++ libraries from the Boost download page.
- Make sure you download the actual source file and not the documentation (The documentation will have pdf in its name.)
- Unzip it to C:\Lab (or a directory of your choosing).
You do not need to compile it.
Source Libraries Configuration
Build VXL
Download VXL by going to: (Start -> Git Bash in search box). Then type the following lines:
cd /c/Lab/VXL/source

git clone git://git.code.sf.net/p/vxl/git vxl-git .
git checkout d8aee93ce8bfc88765fff8ffe5c364d636be8a97
- Run CMake.
- Specify the source folder and binary folder.
- Configure
- Specify the generator for this project: Visual Studio 9 2008 Win64
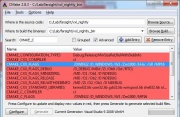
- (optional) For speed optimization in Visual Studio, append /MP to CMAKE_C_FLAGS and CMAKE_CXX_FLAGS as shown in the figure to the right.
- Turn the following options OFF:
- BUILD_BRL
- BUILD_CONVERSIONS
- BUILD_EXAMPLES
- BUILD_GEL
- BUILD_OUL
- BUILD_OXL
- BUILD_PRIP
- BUILD_TBL
- BUILD_TESTING
- Turn the following options ON:
- BUILD_RPL_RGTL
- VNL_CONFIG_LEGACY_METHODS
- VXL_FORCE_V3P_PNG (Mac ONLY)
- Click configure and then turn the following option ON:
- BUILD_RPL_RTVL (will show up in pink)
- Configure again and then Generate
- Go to the VXL binary folder and open the solution file (vxl.sln).
- Go to the main menu bar: Build->Batch Build
- Turn ON the following options under ALL_BUILD:
- Debug|x64
- Release|x64
- Build
- As you wait, play some Starcraft 2.
Build VTK
Download VTK by going to: (Start -> Git Bash in search box). Then type the following lines:
cd /c/Lab/VTK
git clone git://vtk.org/VTK.git Source
cd Source
git checkout v5.10.1
- Run CMake.
- Specify the source folder and the binary folder.
- Configure
- Specify the generator for this project: Visual Studio 9 2008 Win64
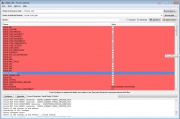
- (optional) For speed optimization in Visual Studio, append /MP to CMAKE_C_FLAGS and CMAKE_CXX_FLAGS as shown in the figure to the right. The git version may have a CMAKE_CXX_MP_FLAG, in which case just check that and add your number of processors to CMAKE_CXX_MP_NUM_PROCESSORS.
- Turn OFF the following options:
- BUILD_DOCUMENTATION
- BUILD_EXAMPLES
- BUILD_SHARED_LIBS
- BUILD_TESTING
- Turn ON the following options:
- VTK_USE_BOOST
- VTK_USE_GUISUPPORT
- VTK_USE_QT
- Configure
- Turn ON the following option:
- VTK_USE_QTCHARTS
- Set Boost_INCLUDE_DIR to the root of the Boost source tree.
- Turn OFF the following option:
- VTK_QT_USE_WEBKIT
- Configure
- An error may appear about QT_QMAKE_EXECUTABLE not being found. Simply provide the path to qmake.exe (should be <QT root directory>/bin/qmake.exe)
- Generate
- Go to the VTK binary folder and open the solution file (VTK.sln).
- Go to the file toolbar: Build->Batch Build
- Turn ON the following options under ALL_BUILD:
- Debug|x64
- Release|x64
- Build
- As you wait, take a nice long shower.
Build ITKv4
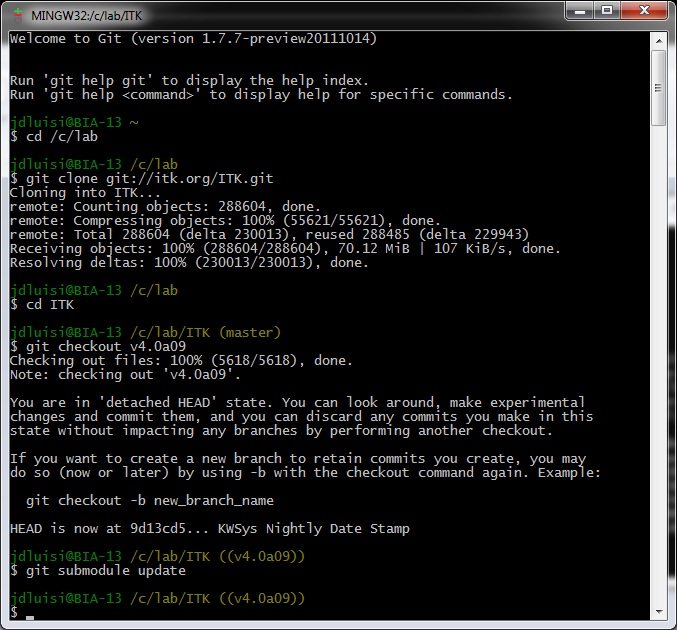
Download ITKv4 by going to: (Start -> Git Bash in search box). Then type the following lines:
cd /c/Lab/ITK

git clone git://itk.org/ITK.git Source
cd Source
git checkout v4.3.2
- Run CMake.
- Specify the source folder and binary folder.
- Configure
- Specify the generator for this project: Visual Studio 9 2008 Win64
- An error will show up in the CMake log complaining about BUILD_TESTING being on.
- (optional) For speed optimization in Visual Studio, append /MP to CMAKE_C_FLAGS and CMAKE_CXX_FLAGS as shown in the figure to the right.
- Turn OFF the following:
- BUILD_TESTING
- BUILD_EXAMPLES
- Configure again.
- Turn ON the following:
- ITKGroup_* or ITK_BUILD_ALL_MODULES
- ITK_USE_64BITS_IDS
- ITK_USE_REVIEW
- ITK_USE_SYSTEM_VXL
- Module_ITKVtkGlue
- On the next Configure you will have to specify VTK_DIR and VXL_DIR.
- Configure again and then Generate
- Go to the ITK binary folder and open the solution file (ITK.sln).
- Go to the file toolbar: Build->Batch Build
- Turn ON the following options under ALL_BUILD:
- Debug|x64
- Release|x64
- Build
- As you wait, poke your neighbor.
CMakeList files may need to be edited to use ${ITK_LIBRARIES} instead of ITKCommon, ITKIO, ITKBasicFilter.... etc, otherwise you will get errors like "Cannot open file: ITKCommon.lib"
See FARSIGHT_Tutorials/Building_Software if you'd like to enable Python wrapping for ITK.
- As you wait, take a nice long shower.
Build FARSIGHT
- Run CMake.
- Specify the source folder and the binary folder.
- Configure
- Set your desired modules to ON. CMake will then tell you if you are missing any libraries.
- Some modules need glut. Therefore, set the desired locations properly for:
- GLUT_INCLUDE_DIR, (ex: C:/Program Files/Microsoft Visual Studio 8/VC/PlatformSDK/Include/gl)
- and GLUT_glut_LIBRARY (ex: C:/Program Files/Microsoft Visual Studio 8/VC/PlatformSDK/Include/gl/glut32.lib)
- If FTKImage fails to build, go to:
- properties
- configuration properties
- C/C++ and under 'Additional options:' add "/bigobj:
- configuration properties
- properties
- THE PACKAGE project does not build automatically, but can be selected and build.
- It requires some type of platform specific program for creating install packages.
- Build PACKAGE to create an install file of Farsight.
- It requires some type of platform specific program for creating install packages.
- Some modules need glut. Therefore, set the desired locations properly for:
Note: If running the executable results in the following error:
"QtGui4.dll was not found"
you may need to add the QT bin directory to the system path on your OS.

