FARSIGHT Tutorials/Building Software/Building CableSwig
Contents |
Overview
This page describes how to download, configure and build CableSwig.
CableSwig is a program that helps to wrap C++ projects for multiple interpreted languages, including Tcl, Python and Java.
You will need CableSwig in order to wrap ITK for Python.
Requirements
You should have already:
- Installed CMake (Click Here for details)
Download
CableSwig is an Open Source project.
You can download the source code from
or simply using the following CVS command
cvs -d :pserver:anonymous@public.kitware.com:/cvsroot/CableSwig co CableSwig
Configure and Build
Define SOURCE and BINARY directories
- CMake uses the concept of SOURCE and BINARY directories
- The SOURCE directory, in this case, is the directory where you put the source code of CableSwig
- The BINARY directory, in this case, is the directory where you want to compile and build CableSwig
This is known as "out of source" building and it is strongly recommended as a good practice, as opposed to the "in-source" building where you could mix the binary and source directories into a single one, and generate great confusion and future suffering.
GNU/Linux & Mac
Create Directories
For the sake this tutorial, lets assume that you are using
- SOURCE directory = $HOME/src/CableSwig
- BINARY directory = $HOME/bin/CableSwig
That means that you expanded the source code of CableSwig in the directory "$HOME/src/CableSwig" and that you manually created the directory "$HOME/bin/CableSwig" with a command such as
  cd
  cd bin
  mkdir CableSwig
Select Compiler
Select your compiler by setting the environment varialbles CC and CXX
For example, if you are using zsh:
  export CC=/usr/bin/gcc-4.1
  export CXX=/usr/bin/g++-4.1
or if you are using bash:
  setenv CC  /usr/bin/gcc-4.1
  setenv CXX /usr/bin/g++-4.1
Please note that you should use the SAME compiler in order to build all the libraries and projects.
You want to use the explicit name of the compiler along with its version (gcc-4.1) as opposed to the generic name of the compiler (gcc). In this way, if you later update your compiler in this computer, your build of CableSwig will still use the proper compiler consistently.
Run CMake
Change directory into the BINARY directory and invoke ccmake from there by giving the CableSiwg SOURCE directory as command line argument.
For example
   cd ~/bin/CableSwig
   ccmake ~/src/CableSwig
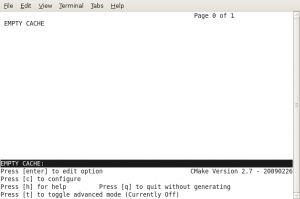
This will show a window like
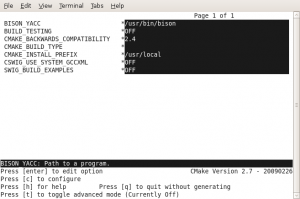
Hit the 'c' key in order to configure. This will trigger cmake to explore the capabilities of your system, including those of your selected C++ compiler.
It will return with a screen similar to:
Now do:
- Move the cursor to the field CMAKE_BUILD_TYPE
- Hit ENTER to enter edit mode, and
- Type "Release"
- Hit ENTER again to exit edit mode
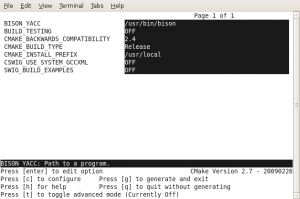
- Hit the 'c' key again in order to configure with the new options
It will return with a screen similar to:
We must know select the directory where CableSwig will be installed. It is convenient to use CableSwig from an installed directory instead
of using it from the directory where it was built.
- Navigate with the cursors until the CMake variable CMAKE_INSTALL_PREFIX
- Hit ENTER, and type the directory where you want to install CableSwig
- Hit ENTER again in order to leave the edit mode
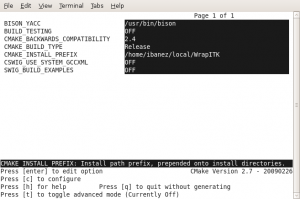
- Hit the 'c' key in order to configure
In this case we have chosen to install it in a directory called $HOME/local/WrapITK, but you could choose any directory for which you have write permission.
The screen will look similar to:
Now hit the 'g' key to "Generate" the makefiles.
Once they are generated, CMake will exit and you can simpy type
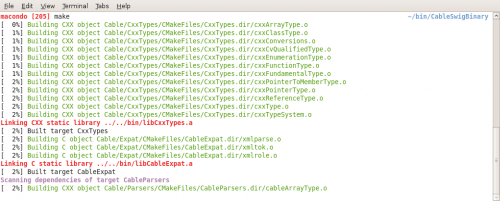
make
to build the project.
You will see something similar to:
and after several minutes the project will finish building.
at this point you can install the software to the INSTALLATION directory by simply typing
make install
You should now find in the INSTALLATION directory, two sub-directories: "bin" and "lib".
At this point you are done with the process of building and installing CableSwig. Congratulations !!
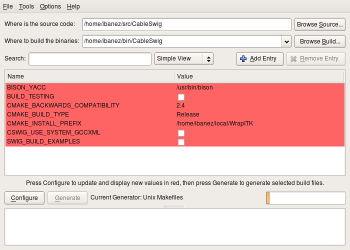
NOTE: The examples above use the traditional ncurses-based interface of CMake. Starting with CMake 2.6 an new GUI interface based on Qt is being distributed with CMake. Should you have decided to use the new interface, instead of calling ccmake you could have done:
cmake-gui ~/src/CableSwig
and you would have seen a window similar to:
Windows with Visual Studio
Configuring
NOTE that starting with CMake 2.6 a new GUI interface based on Qt has been added to CMake. We will use this new GUI interface in this Windows example.
Do the following:
- Launch "CMake (cmake-gui)"
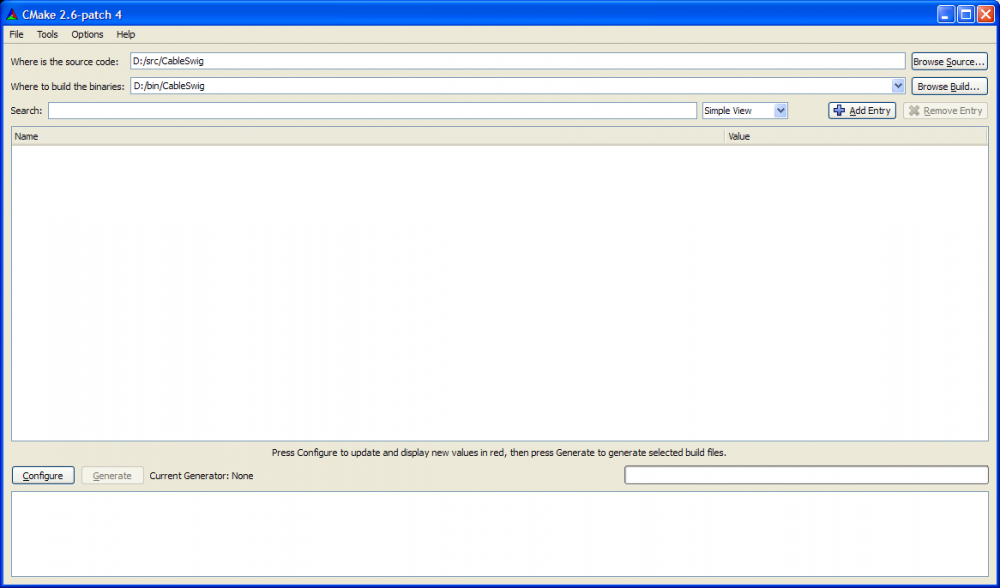
- In the top field "Where is the source code" write the directory where you downloaded the source code of CableSwig
- In the second field "Where to build the binaries" write the directory where you want the compiled libraries and executables to be built.
At that point you should see a window similar to:
Hit the "Configure" key at the bottom left of the window.
At this point CMake will ask you what compiler you want to use.
It is VERY IMPORTANT that you use the SAME COMPILER for building all the libraries and executables.
The compiler selection window will look like:
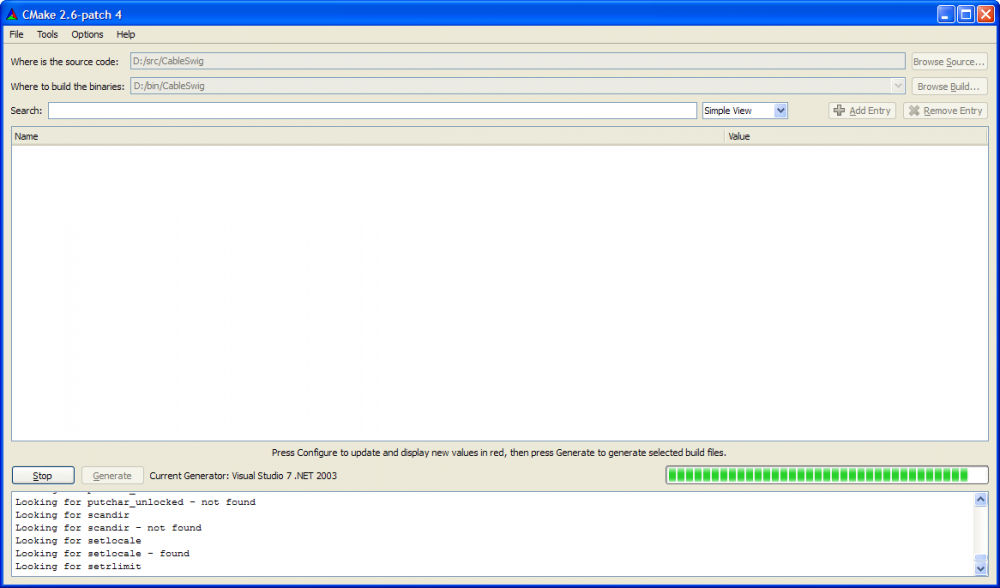
CMake will start analyzing your system and evaluating the capabilities of your compiler. You will see the advance of the process in the progress bar on the bottom right section of the interface.
The intermediate screens look like:
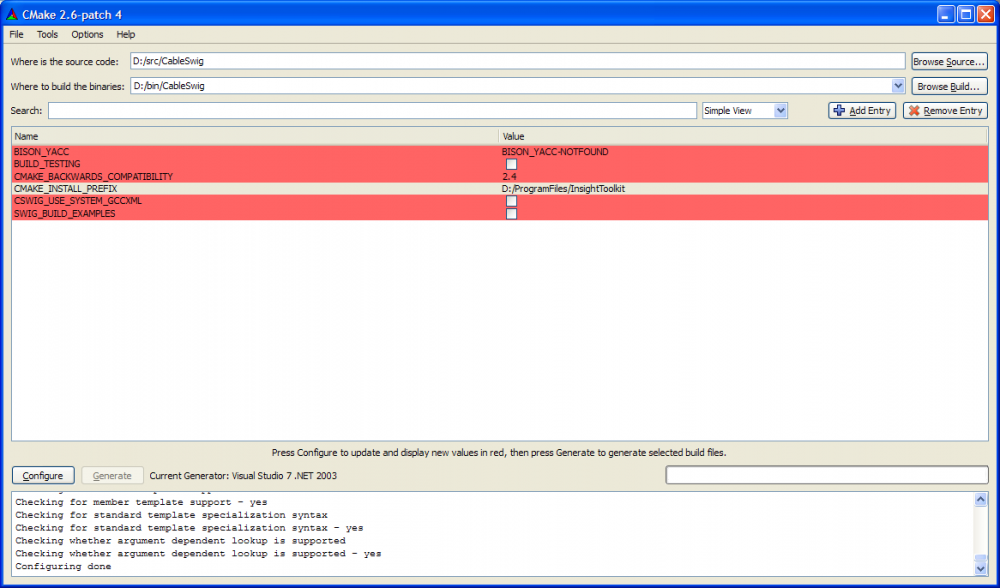
Once the interface returns, click on the CMake variable CMAKE_INSTALL_PREFIX and select a directory where all the software will be installed after it is build. It is very useful in Windows, to install the software in a directory and use it from that directory instead of attempting to use it from the place it was build. Hereafter we will refer to this directory as the INSTALLATION directory.
CMake screen will look like:
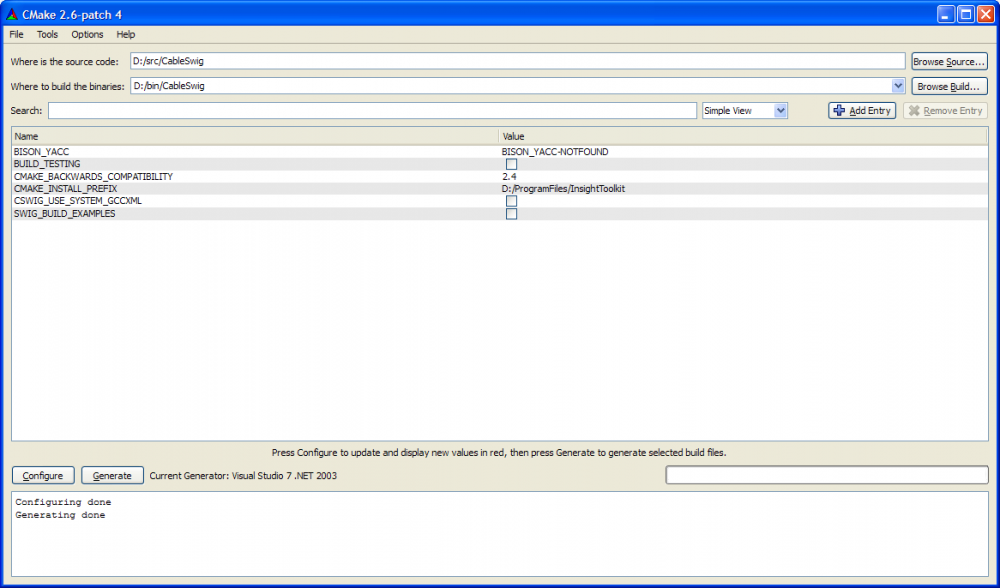
Hit again the "Configure" key on the bottom left, and if no new red entries appear in the GUI, you can click on the "Generate" button. This will generate a "Workspace" or "Solution" file for your version of Visual Studio.
Once the generation process finishes, the screen should look like:
and at this point you can quit CMake by going to the "File" menu and selecting "Exit".
Building
In the BINARY directory you will find now a file
- CableSwig.dsw or
- CableSwig.sln
depending on your version of Visual Studio.
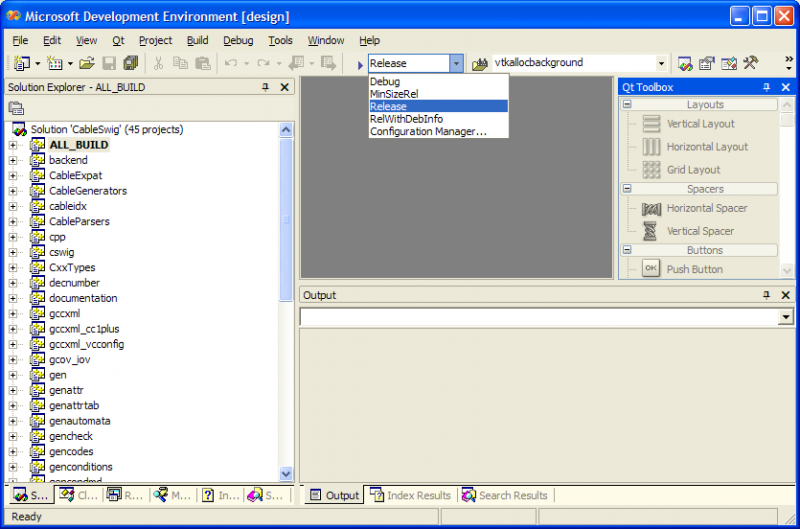
Open this file with the proper version of the Visual Studio IDE, and in the upper menu for selecting the "compilation mode", make sure that you select Release. The Visual Studio IDE will look similar to:
Select now the "Build" menu and start building CableSwig.
This may take about half an hour depending on the capabilities of your computer.
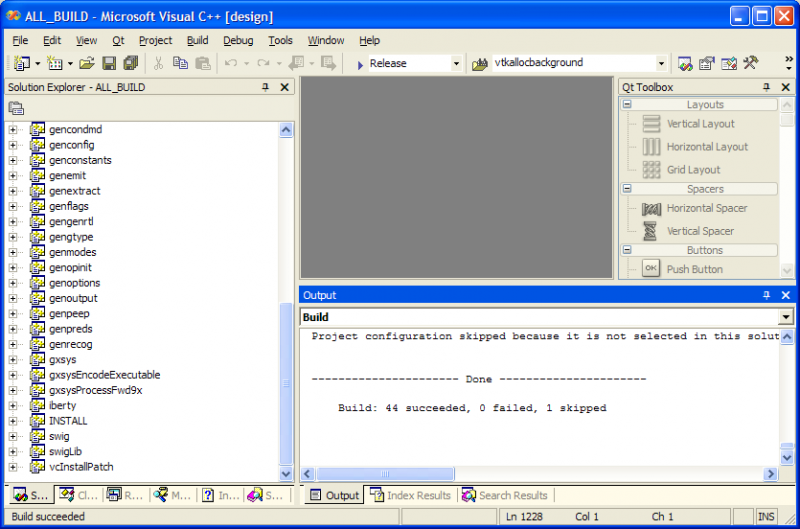
Once the build finishes, you will see a screen similar to:
you should proceed now to INSTALL CableSwig.
You can do this with the following steps:
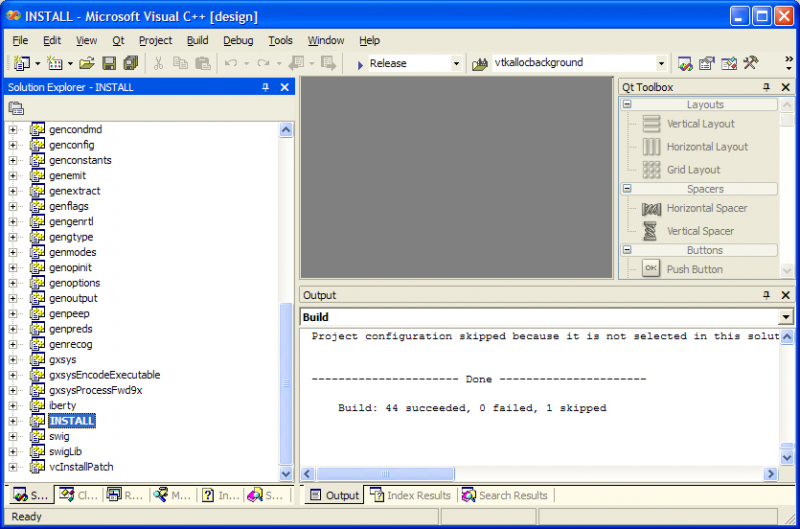
- On the list of projects in the Visual Studio IDE, you have selected ALL_BUILD by default. Look down this list until you find the INSTALL project target.
- Right click on the INSTALL target, and select "Build"
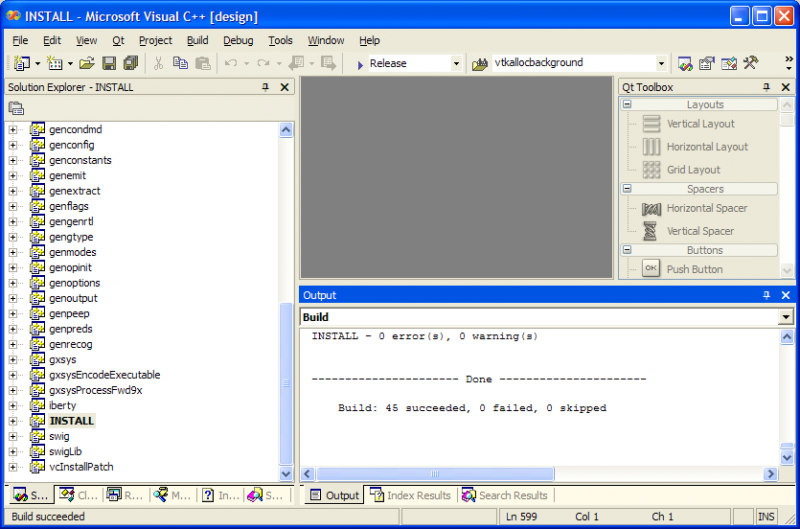
This will trigger the installation of the binary files in the INSTALLATION directory.
Once the installation process has concluded, you will see a screen similar to
and at this point you should find in the INSTALLATION directory, two subdirectories: "bin" and "lib".
Congratulations!!, you have finished building and installing CableSwig.
