Worm Analysis System
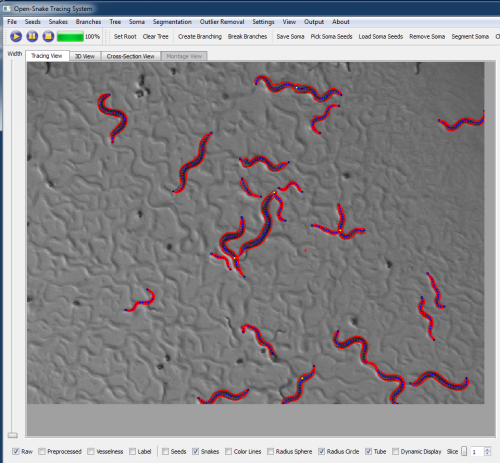
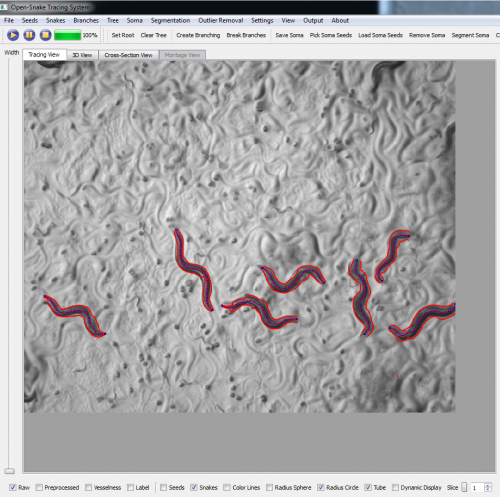
We are now working on applying our 3-D tracing algorithm for the Worm tracking problem. Some preliminary results produced by the tracing system are shown in figures below.
Contents |
The Worm Tracking System (Old)
There is a compelling need for improved software systems for delineating the C.elegans worms in time-lapse image sequences and tracking their movements. Segmentation and tracking provide the basis for making quantitative measurements of worm morphology, and various aspects of their dynamic behaviors. To facilitate the quantitative studies of worm behaviors, we developed an automated worm analysis system which is open-source and could be adopted by all researchers in the C.elegans community.
System Overview
Main Window
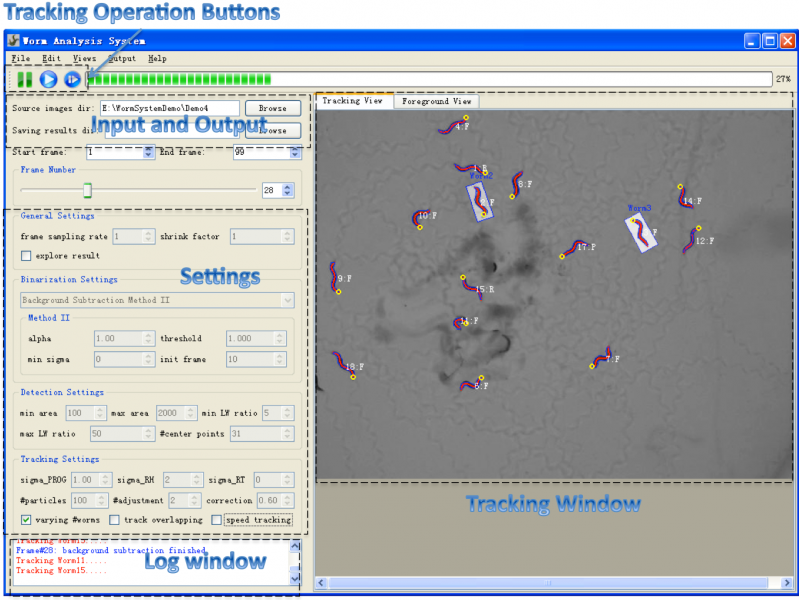
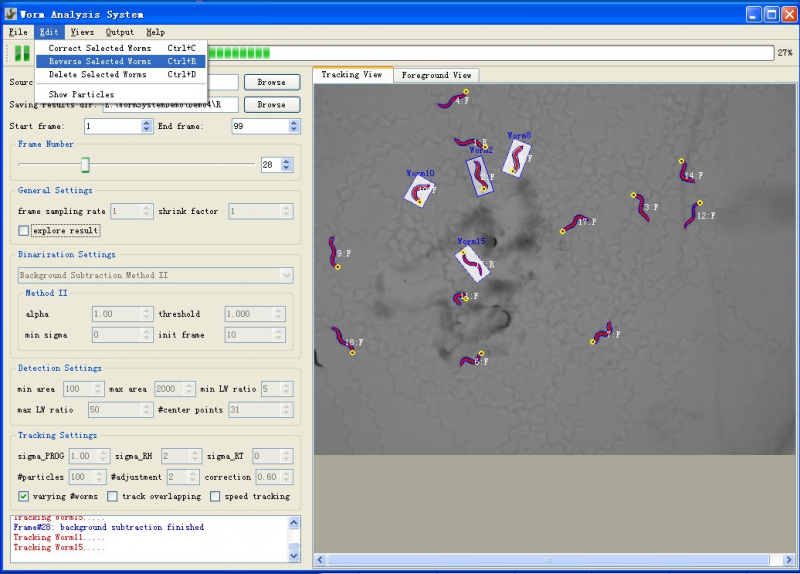
Figure1 shows a screenshot of the main window of the system.
- Menu: the menu provides operations like file operations and Editing Operations which allow user to edit (reverse, delete and correct) selected worms in the tracking window.
- Toolbar: the toolbar provides three buttons (figure2: suspend tracking, start/resume tracking, start tracking from a saved point) for controlling the tracking process. Users can suspend the tracking process at any time point to do observation or interactive editing when necessary. The third button makes it possible for the user to start the tracking process from any saved tracking result which stores worm shapes, features and identities. Thus the user doesn't need to start over the tracking if the program was closed normally or abnormally.
- Input and Output: the input and output sections allow users to specify directory of input image sequence and the directory for storing tracking result. For each frame, the tracking result includes a text file storing worm structure (centerline and contour points), a excel file storing extracted features (locomotion states, shape and motion features, etc.) and a png image took from the tracking window. The results could be explored at anytime during or after the tracking process [Explore Result].
- Settings: the settings section allows users to specify settings for core processing algorithms. Please refer to Settings for detailed information about these settings.
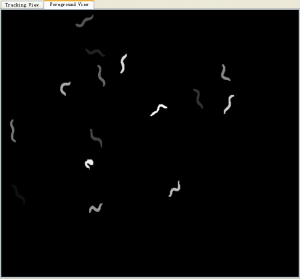
- Tracking Window: the tracking window provides both "tracking view" and "foreground view". Tracking view displays the centerline (head is shown as a yellow circle) and contour of tracked worms, and also their identity and motion state (F=Forward, R=Reversal, P=Pausing, O=Omega Bend, C=Physical Contact). Worms are highlighted by a transparent Minimum Enclosing Rectangle once selected. The foreground view shows the label image of foreground objects obtained by background subtraction method, and could help the user choose correct binarization parameters. A good binarization result means worm boundaries are well preserved in the binary image, and the foreground objects have no hole or dent.
- Log Window: log window displays a log for the tracking process. More detailed information about the tracking process is displayed in another terminal window.
Multiple Linked Views
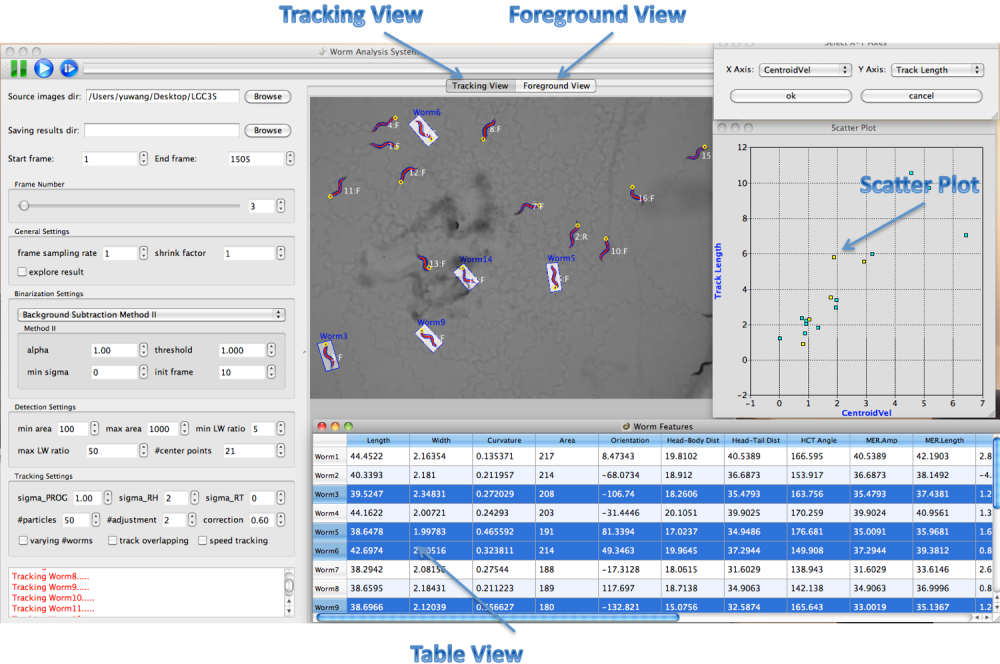
Worm Analysis System provides a linked-view architecture where worm objects can be visualized in different views like image, table and scatter plot. Worm objects selected in one view are immediately highlighted in all the views (figure3).
Algorithms
- Background Subtraction: the system provides two background subtraction methods to handle images with different backgrounds.
- Background Subtraction Method I: A background image is computed first from all available images. Incoming image is subtracted with the obtained background image and the subtraction result is fed to Graph-Cut algorithm to output a smoothed binary image. This method applies only for static background.
- Background Subtraction Method II: Motion-based and intensity-based models are used to detect moving foreground objects. The obtained foreground confidence map is fed to a Spatio-Temporal Graph-Cut algorithm to output spatially and temporally smoothed binary foreground image.
- Tracking: the system incorporates our latest worm tracking algorithm [1], which could track multiple worms and recognize their locomotion states (Forward, Reversal, Pausing and Omega Bend) simultaneously. The tracker is initialized by the first two image frames on which worm detection is performed and head and tail are automatically determined (we assume worms are moving forward at the first two frames. If worm's head is not correctly identified, the user need to manually reverse the worm).
- Feature Computation: the system computes a subset of worm features in real-time during tracking. More features could be computed from the saved worm structures (centerline and contour points). For a complete list of our worm features, please refer to [Worm Features and Events].
System Operations
Edit Worms
To edit the worms when necessary, user can suspend the tracking process and then use the "Edit" menu (figure4) which provides three group editing operations. Deleting or reversing single worm could be done by double right-click or double left-click. Worm correction is only effective when selected worms are not in physical contact or doing omega bend.
Tracking Result
The user needs to create a folder for storing the result first, and then specify the folder in the worm system. For each frame, the system outputs a image displaying the tracking result, an excel file storing the worm features and a txt file storing worm shape information. In the txt file, each worm item contains four rows: the feature row which is the same as the information stored in the excel file, two rows storing worm centerline points and one row storing the width at each centerline point. Features stored in the excel file include:
 1.Length // length of the worm
 2.Width //width of the worm
 3.Curvature //curvature of the worm centerline
 4.Area //foreground object size underlying the worm
 5.Orientation // orientation of the line linking head and tail
 6.Head-Body Dist //distance between head and body (worm centroid)
 7.Head-Tail Dist //distance between head and tail
 8.HCT Angle //angle between line linking centroid and head and the line linking centroid and tail
 9.MER.Amp  //height of the minimum enclosing rectangle
 10.MER.Length //length of the minimum enclosing rectangle
 11.Speed //axial progression speed
 12.Centroid Velocity // velocity of the worm centroid
 13.Track Length //length of the track of the worm
 14.Reversal Duraction //duration of reversal sessions this worm performed so far
 15.Reversal Count //times of reversal sessions this worm performed so far
 16.Contact Duration //duration of physical contact with other worms
 17.Worm Duration //duration of the worm in the field
 18.State //"FORD" (forward), "REVE" (reversal), "OMEB" (omega bend), "PAUS" (pausing), "LEFT" (left)
In the "output menu", the user can generate a summary of worm motion labels into an excel file, in which each worm has a row storing all its motion labels (0=not active, 1=forward, 2=reversal, 3=Pausing, 4=Omega Bend, 5=Physical Contact) and a row storing all its speed values.
Explore Result
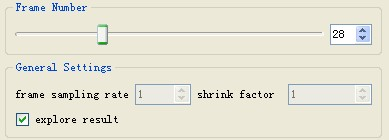
If the directory for saving tracking results is provided, users could explore the result during the tracking process simply by pausing the tracking first, checking the "explore result" box and sliding the "frame number" slider. The "explore result" box needs to be unchecked before resuming the tracking.
Start Tracking from Saved File
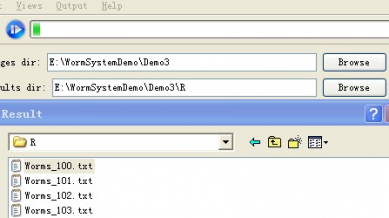
To start the tracking from saved tracking result, the user needs to specify the directory storing the tracking result, click the third button in the toolbar and choose the txt file from which the tracking will start(figure9).
Test and Choose Settings
To test the current settings, the user could run the tracking process for several frames. If changes need to be made according to the tracking and binarization results, the user could pause the tracking process, make necessary changes to the settings and then start over the tracking process. Restarting the tracking from original starting point could be done with the "Start frame" spinbox. For example, after changes to settings have been made, the user could change current "Start frame" spinbox value from 1 to any other different number (which cancels the current tracking process, since tracking will be reset once change in the "Start frame" spinbox is detected), and then change the number back to 1. The "Start frame" spinbox also allows user to start tracking from any time point/frame.
Keyboard and Mouse Shortcuts
 Ctrl+O: Open Settings
 Ctrl+S: Save Settings
 Ctrl+Q: Quit the program
 Ctrl+C: Correct selected worms
 Ctrl+R: Reverse selected worms
 Ctrl+D: Delete selected worms
 Ctrl+M: Output Summary of motion labels
 Ctrl+G: Start/Resume Tracking
 Ctrl+P: Pause Tracking
 Left Click on any view: select the clicked worm object
 Ctrl+Left Click on any view: toggle the selection of the clicked worm object
 Double Left-Click on the tracking view: reverse selected worm
 Double Right-Click on the tracking view: delete selected worm
Demos
- Demos: four demos are provided for testing the system and helping users familiarize themselves with system operations and settings, some images are from [6] and the others are generously provided by Meghan Jobson at University of Utah. There is a setting file for each demo, and it could be read into the system by "Ctrl+O". The user needs to create a folder for storing the result first, and then specify the folder in the system.
Demo1: Multi-Worm.
Demo2: 2-Worm physical contact[6].
Demo3: 2-Worm physical contact[6].
Demo4: Multi-Worm.
Summary
The current system includes the background subtraction, detection, tracking, feature computation, display and interactive editing modules. We are working on adapting the current system into FARSIGHT, and on linking the system with other utilities of the FARSIGHT. We are also going to develop other worm analysis modules like the phenotype classification module.
